During startup, the manager creates a directory called "APLAgent" in your home directory. That is where the manager stores its demo files, and where it looks by default for A-Prolog files to load.
% java -jar aplagentmgr-0.5.jar(Replace aplagentmgr-0.5.jar by whatever name your jar file has.)
After a while, the main window will pop up.
During startup, the manager creates a directory called "APLAgent"
in your home directory. That is where the manager stores its demo
files, and where it looks by default for A-Prolog files to load.
The next thing to do is to specify an agent and a domain that we want
to work with. APLAgent Manager comes with some demo agents and domains,
which we will use in the rest of this tutorial.
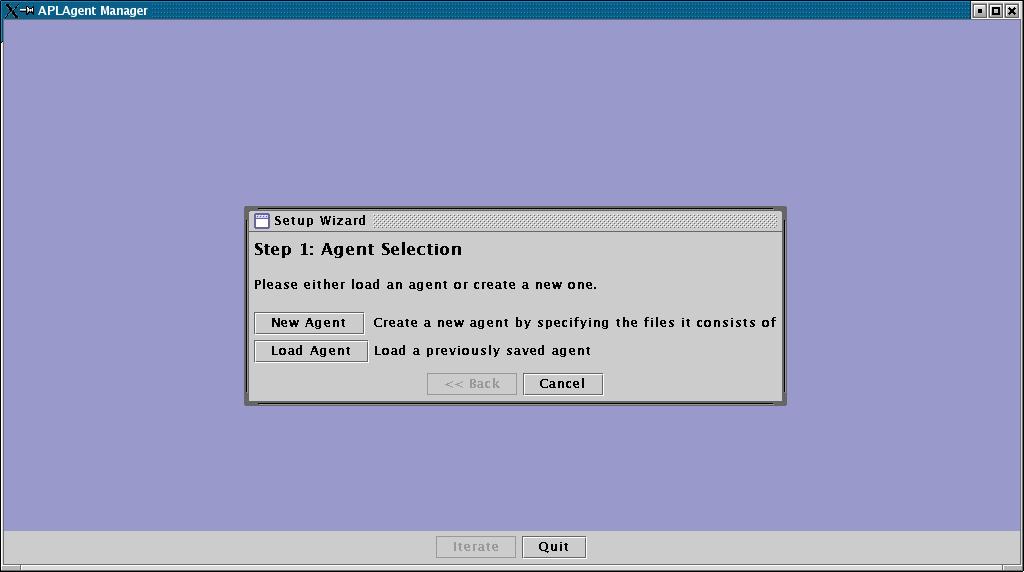
Click on "Load Agent", and an Open Dialog will appear.
By default, the dialog opens in the AGENTS subdirectory of the directory
that APLAgent Manager just created in your home directory. Select
file "plan-diag.agt". This file describes an agent capable of performing
both planning and diagnosis.

After you click on "Open", the Agent Files Dialog will pop up, allowing you to
take a look at the agent that you are loading. The first tab in the
dialog shows the name of the Java class that implements the agent
loop.
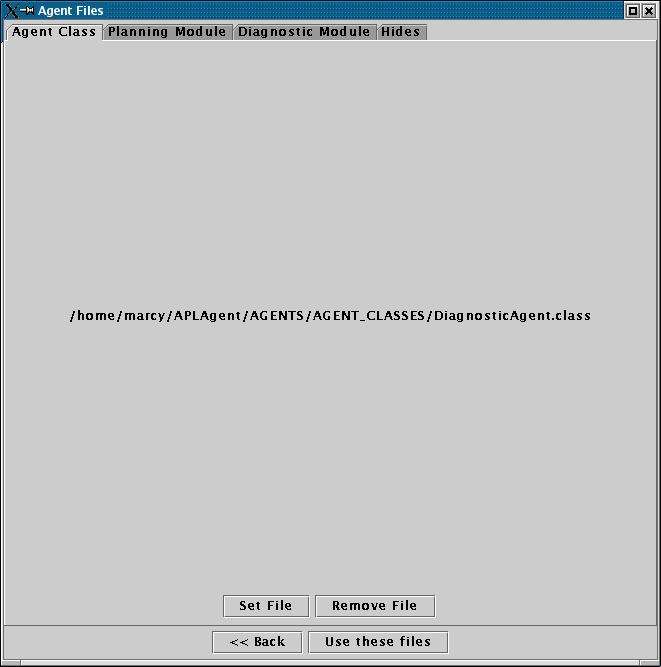
The other tabs show the A-Prolog files implementing the reasoning modules
of the agent. They are divided in Planning Module,Diagnostic
Module, and Hides. Click on the name of a tab to see the files
that it contains.
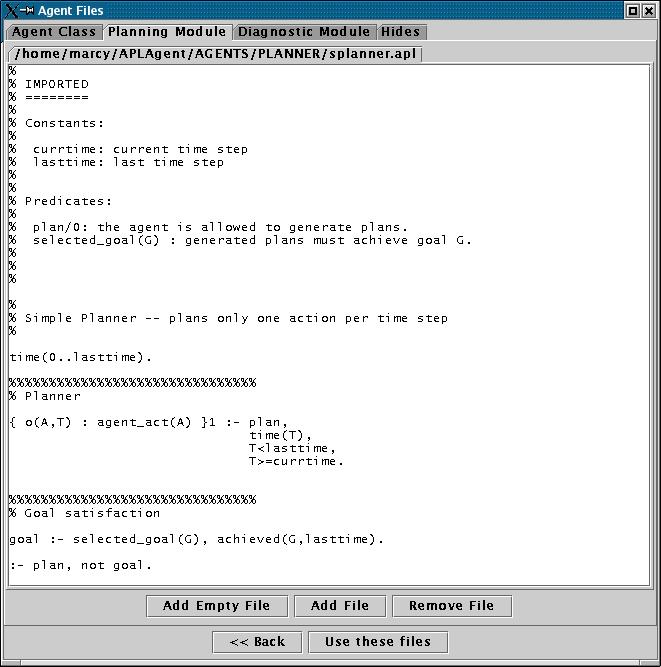
Each module can contain an arbitrary number of files. You can add or
remove files using the buttons at the bottom of the dialog. You can
also directly edit the files inside the dialog. If you make any changes,
The APLAgent Manager will automatically ask you if you want to save
the files that you have modified.
For the time being, let us not make any changes to the files. Click on
"Use these files" to confirm that you want to work with these files.
The manager will now ask you to specify a domain.
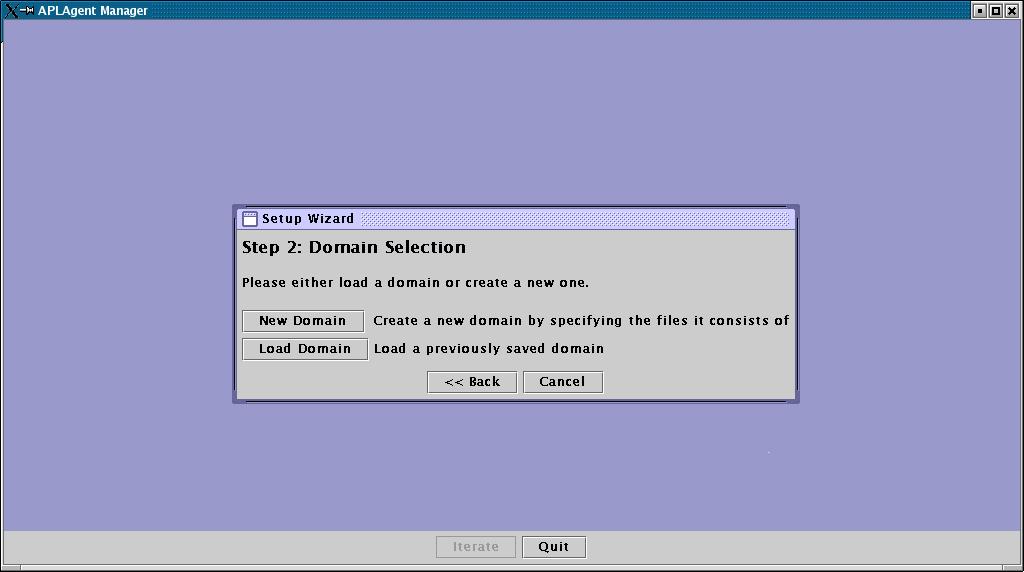
Click on "Load Domain" and select "3bulbs-plan-diag.dmn".
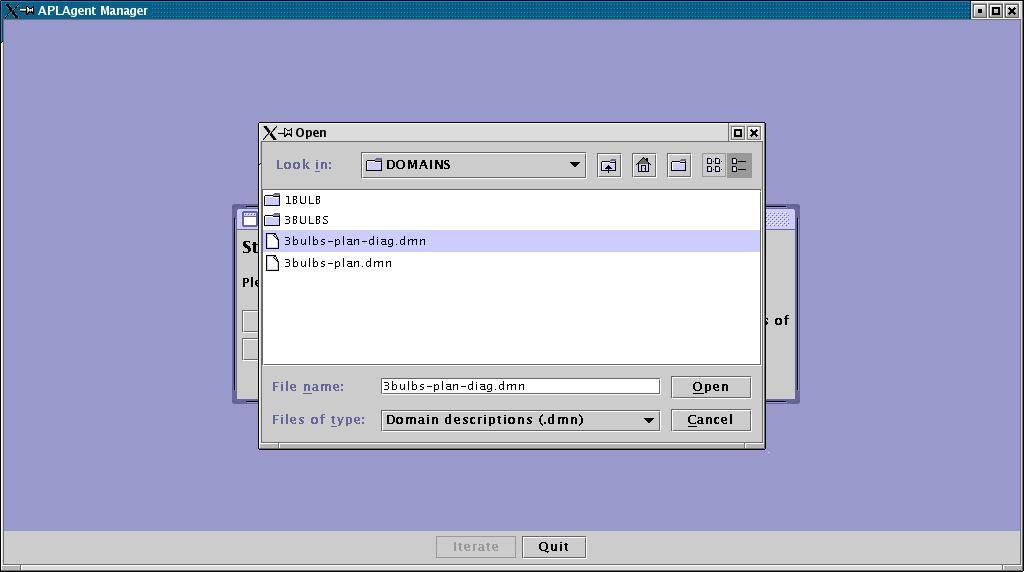
Now you can open the file, and click "Use these files" in the Domain Files
Dialog.
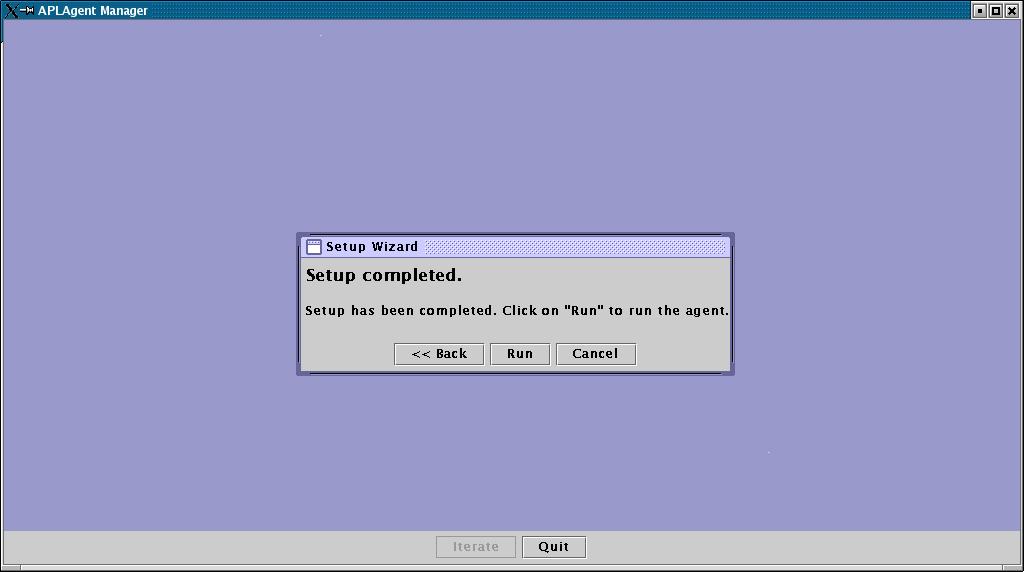
The setup phase is complete. Click on "Run" to run the agent.
You completed this section. Click here to move to the
next section. You can also go back to the main
page.